其实就是接了几个 Zigbee 的吸顶灯到 HA 里。
今年有同学也出来工作,就盘算着一起整租套房子,比来比去居然是自如最有性价比,也好,省心了。
租的时候同学问了一嘴是不是全屋智能,答曰不是,在详情页似乎也没看到描述。不过签约之后看到 app 里能控制灯具,并且在房间里找到了下面这个玩意儿:
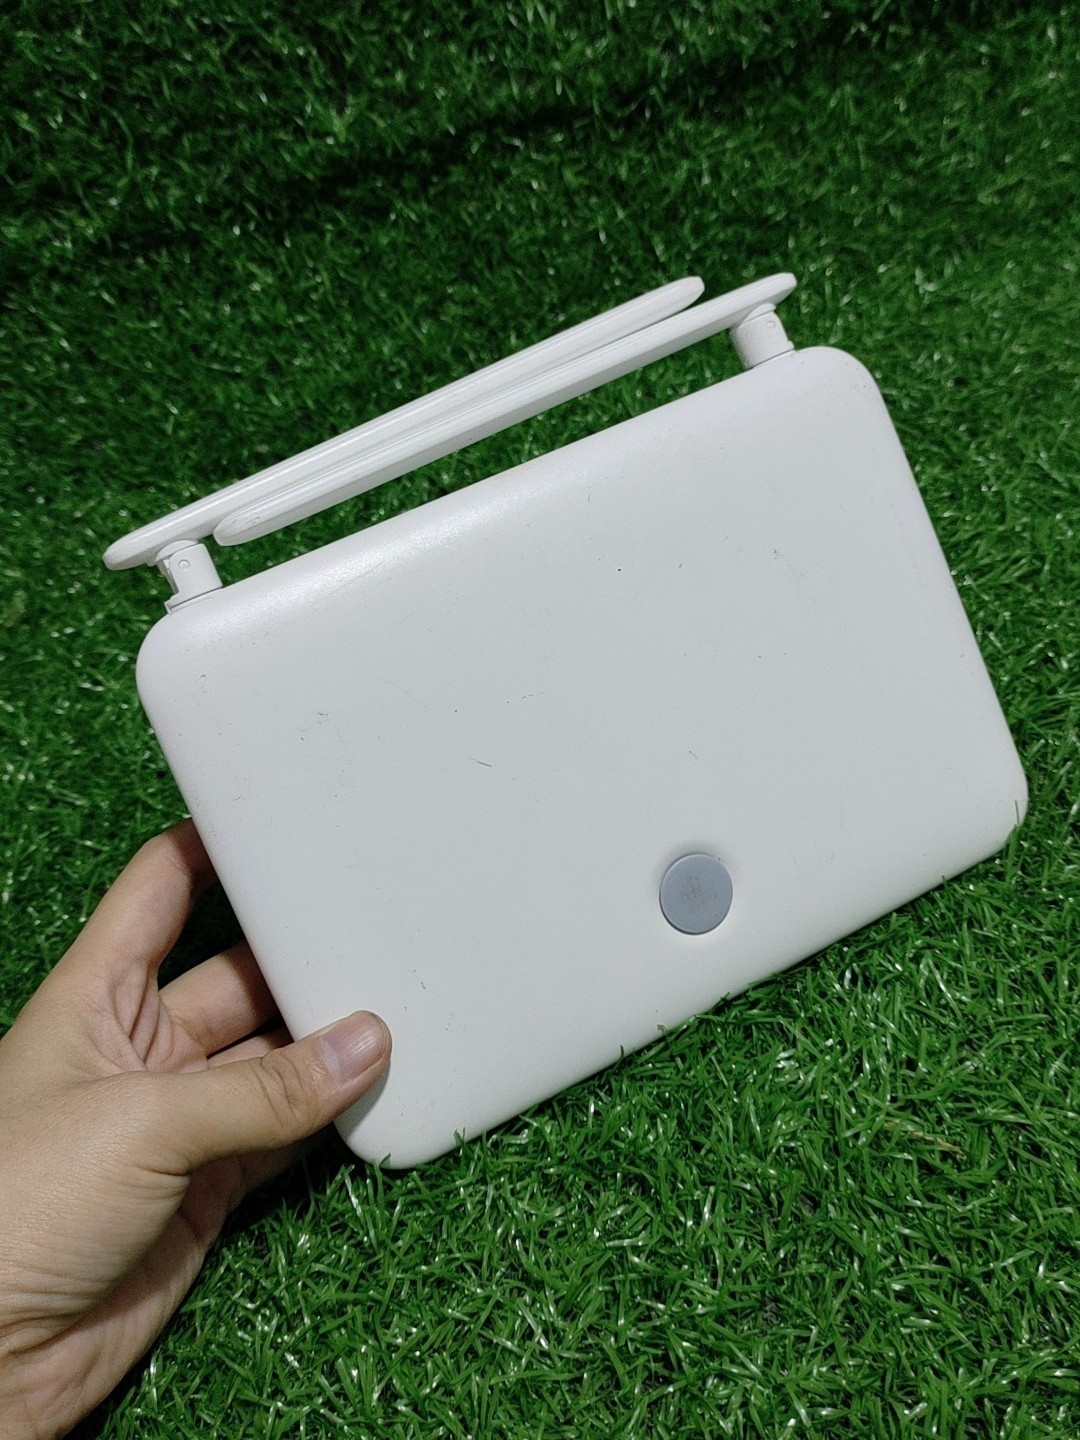
研究了下这玩意儿应该是个网关,房子里的吸顶灯走 Zigbee 连。门锁走的 Zigbee 还是 NB-IoT 不太确定,不过这玩意儿不是重点。
btw 有个相当扯淡的事情是,吸顶灯在自如的 app 里能控制开关、亮度和色温,但墙壁开关还是机械的。只能说智能了个寂寞。
正向接入 Home Assistant
OK 回到正题,傻子才会想用自如的 app 来搞智能家具。如果能接入到 HA 里面,能搞的事情就非常多了。
HA 有两种接入 Zigbee 设备的方式,一种是自带的 ZHA (Zigbee Home Automation),一种是第三方集成 Z2M (Zigbee2Mqttt)。ZHA 有残废的开箱即用:只能控制开关,不能控制亮度和色温。而给第三方设备编写配置(在 ZHA 里叫 Quirk)的难度也非常大,只能基于模板来搞,也没办法自行控制设备支持的功能和具体的命令。虽然说有新版本的 Quirks 2.0,但依旧是难用。所以最后决定还是用 Z2M 来搞了。
不过 ZHA 有个比较好的地方是,调试 Zigbee 设备比 Z2M 方便,会直接列出所有命令,直接鼠标点点就能发送命令。调完之后这个设备大概支持了这么些功能:
色温: Color (endpoint id = 1, id = 0x0300, type = in) 读取: color_temperatue (id: 0x0007) 设置: move_to_color_temp (id: 0x000a) color_temp_mireds = 166~370 (2700K ~ 6500K) transition_time 亮度: LevelControl (endpoint id = 1, id = 0x0008, type = in) 读取: current_level (id: 0x0000) off_transition_time (id: 0x0013) r/w on_transition_time (id: 0x0012) r/w start_up_current_level (id: 0x4000) r/w 设置: move_to_level (id: 0x0000) level = 0~255 transition_time 开关: OnOff (endpoint id = 1, id = 0x0006, type = in) 读取: on_off (id: 0x0000) 关: off (id = 0x0000) 开: on (id = 0x0001) 切换开关: toggle (id = 0x0002)
色温、亮度和开关,足够使用了。接下来开始编写 Z2M 的设备文件。
需要注意的是只有在 Z2M 里能显示出来制造厂商和型号的 Zigbee 设备才能接入 Z2M,比如这样:

一个基础的 Z2M 设备配置长这样:
const definition = {
zigbeeModel: ['ZH-D00002021'],
model: 'ZH-D00002021',
vendor: 'Vensi',
description: '吸顶灯',
extend: [],
fromZigbee: [
fz.on_off, fz.brightness, fz.color_colortemp, fz.level_config
],
toZigbee: [
tz.on_off, tzLocal.light_onoff_brightness, tz.light_colortemp, tz.level_config
],
exposes: [
new VensiZHLight().withBrightness().withColorTemp()
],
};
module.exports = definition;
前几行是型号、厂商和描述,fromZigbee 决定了如何读取设备的属性状态,toZigebee 决定了如何发送 Zigbee 控制命令,而 exposes 决定了有哪些属性会被暴露出去。
默认情况下,Z2M 提供的带亮度和色温功能的灯具模板里,调整亮度会根据一些设备属性来决定使用 moveToLevel 还是 moveToLevelWithOnOff 命令。而自如的灯在这种情况下会被认为该使用后者。但实际上它用的应该是前者,所以这里我们仿照预置模板来继承出我们自己的灯具设备:
class VensiZHLight extends exposes.Base {
constructor() {
super();
this.type = 'light';
this.features = [];
this.features.push(new Binary('state', access.ALL, 'ON', 'OFF').withValueToggle('TOGGLE').withDescription('On/off state of this light'));
}
withBrightness() {
assert(!this.endpoint, 'Cannot add feature after adding endpoint');
this.features.push(new Numeric('brightness', access.ALL).withValueMin(0).withValueMax(255).withDescription('Brightness of this light'));
return this;
}
withLevelConfig() {
assert(!this.endpoint, 'Cannot add feature after adding endpoint');
const levelConfig = new Composite('level_config', 'level_config', access.ALL)
.withFeature(new Numeric('on_transition_time', access.ALL)
.withLabel('ON transition time')
.withPreset('disabled', 65535, 'Use on_off_transition_time value')
.withDescription('Represents the time taken to move the current level from the minimum level to the maximum level when an On command is received'),
)
.withFeature(new Numeric('off_transition_time', access.ALL)
.withLabel('OFF transition time')
.withPreset('disabled', 65535, 'Use on_off_transition_time value')
.withDescription('Represents the time taken to move the current level from the maximum level to the minimum level when an Off command is received'),
)
.withDescription('Configure genLevelCtrl');
this.features.push(levelConfig);
return this;
}
withColorTemp(range) {
assert(!this.endpoint, 'Cannot add feature after adding endpoint');
const rangeProvided = range !== undefined;
if (range === undefined) {
range = [167, 370];
}
const feature = new Numeric('color_temp', access.ALL).withUnit('mired').withValueMin(range[0]).withValueMax(range[1])
.withDescription('Color temperature of this light');
[
{name: 'coolest', value: range[0], description: 'Coolest temperature supported'},
{name: 'neutral', value: parseInt((range[0] + range[1]) / 2), description: 'Neutral temperature'},
{name: 'warmest', value: range[1], description: 'Warmest temperature'},
].filter((p) => p.value >= range[0] && p.value <= range[1]).forEach((p) => feature.withPreset(p.name, p.value, p.description));
this.features.push(feature);
return this;
}
}
亮度我们使用 Numeric 来作为控制,这里已经是归一化之后的亮度等级,范围 0~255。色温同理,不过我们可以再通过 withPreset 来增加几个预设的等级。需要注意的是这个预设等级只供 Z2M 使用,HA 在接入设备之后有自己的色温预设等级。
withLevelConfig 用来控制状态转换过程中的渐变时间。对自如这个灯来说这个属性不太能有自定义的值,不过我们还是给它暴露出去。
toZigbee 的部分大部分是改自模板,这里就不列出来了。完整的设备文件放在了 gist 上,可以直接下载使用。
完成之后,将设备文件放在 /config/zigbee2mqtt 目录下,在 Z2M 的设置里添加外部设备文件,然后重启 Z2M 集成。如果一切正常,应该就能在设备里看到灯具了,接下来就能正常在 HA 里使用了。
/config/zigbee2mqtt/external_converters 文件夹下即可。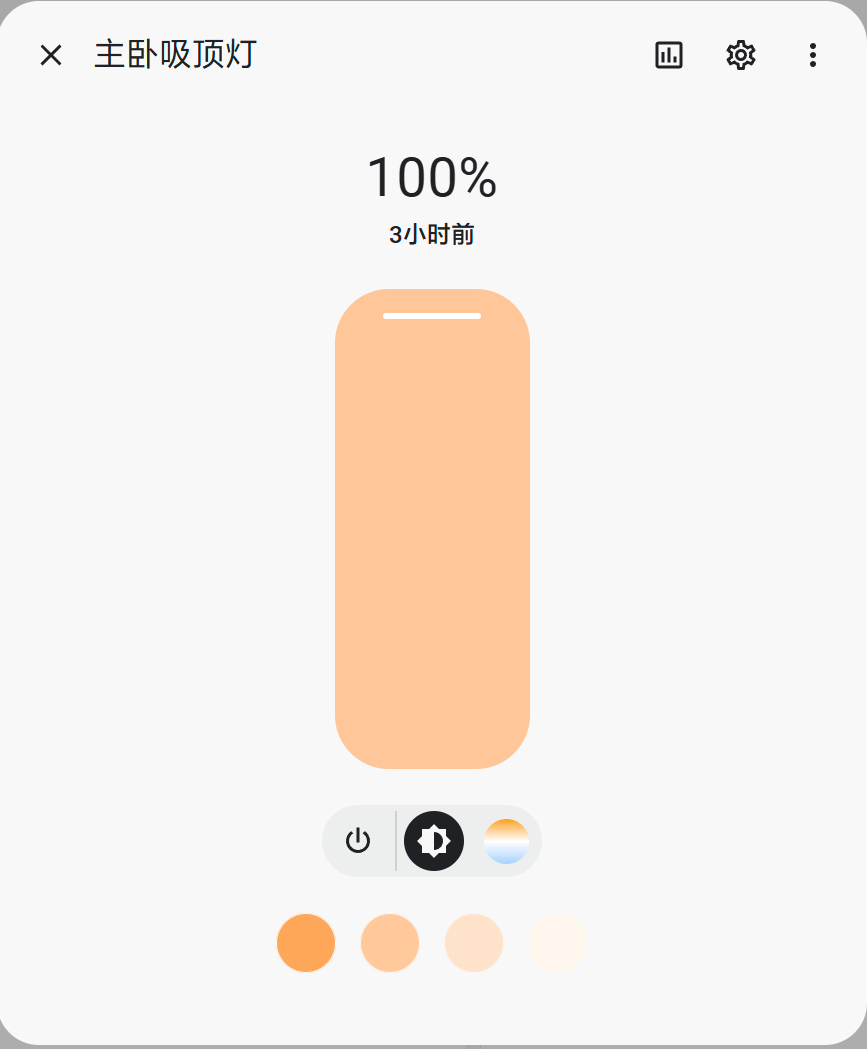
反向接入回米家(小爱同学)
解决了正向接入 HA 的问题,接下来再反向接入回米家,这样就能躺床上控制了。
不过虽然说的是叫接入米家,实际上应该叫接入小爱同学。米家不能支持的第三方设备接入之后,只能使用小爱同学语音控制。但这样也足够了,“小爱同学,开灯”“小爱同学,灯的亮度调到 50%”“小爱同学,灯的色温调到暖光”,三类语音描述刚好覆盖完整功能。
这里我们使用巴法云作为中间平台。具体使用可以直接参考其 Github 仓库。
请问自如这个型号的灯怎么进入配对状态呢
开关连续通断五次。“断电然后上电”这样算一次。
我这房子里是墙面开关,完全搞不懂怎么触发配对模式……
其实就是双击开关五次
我这个墙面开关是短按两次,然后长按5s进入配对模式,某天早上自己变离线状态后自如app上发现的hhh😂
卧槽!